When applying for a property on RentSpree, you will be asked to enter dates for multiple fields (date of birth, employment start date, etc.). Some mobile devices use their own calendar to enter this information, which we will go over in detail below. For the purpose of this article, we will be using the Date of Birth field from the first page of the Online Rental Application.
Using an iPhone (Safari)
1. When you are asked to enter a date on the rental application, click on the field a date. This will cause a pop-up at the bottom of the screen for you to select a date.
2. By scrolling through the month, date, and year, you will be able to select the correct date for that field.

Using an Android (with Google Chrome)
When using an Android device, the most common browsers used are Google Chrome and Mozilla Firefox. While similar, we will be using Google Chrome for our example.
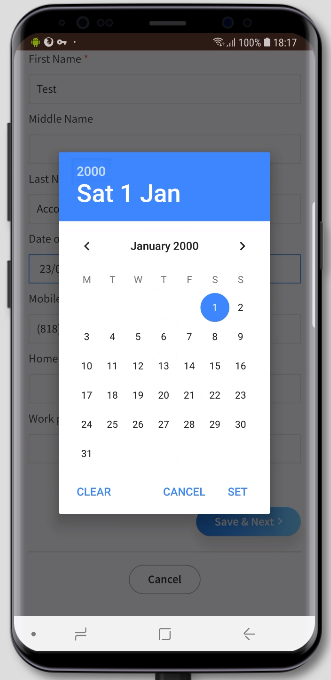
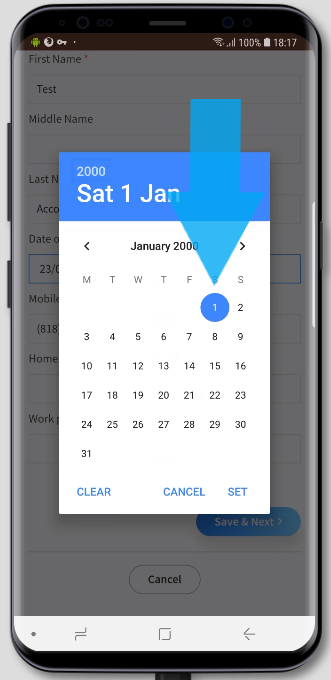
1. When you are asked to enter a date on the rental application, click on the field a date. This will cause a pop-up calendar on your screen, as seen below.
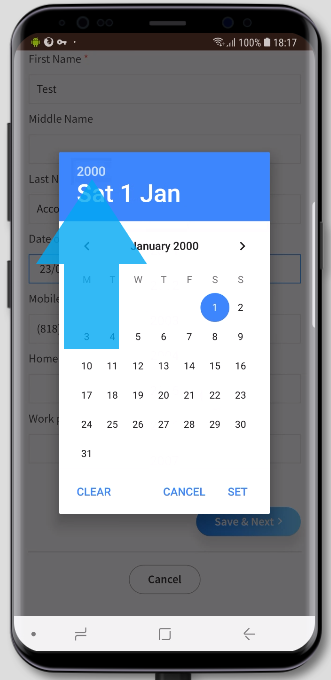
2. You will notice a blue section a the top with the currently selected date. Click on the year, located above the day/date/month, to select a year.
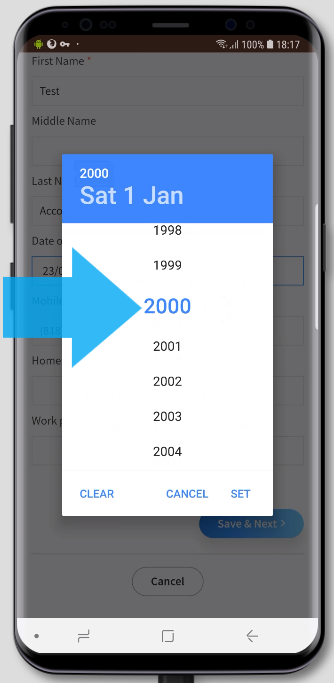
3. Once you have clicked the year, you will be able to scroll through different years until you find the correct one. When you have highlighted the correct year, click on it and you will be returned to the full calendar.
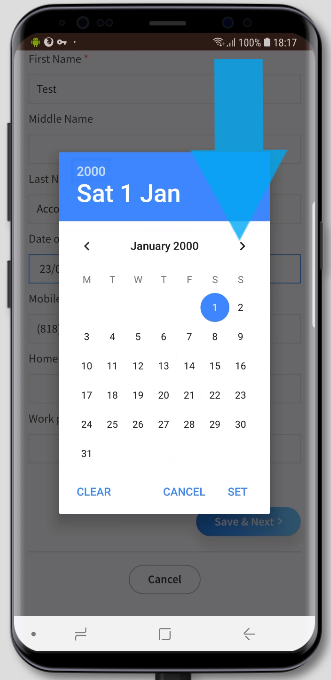
4. Upon returning to the full calendar, you will now notice the correct year is listed. You can now select the month by clicking on either arrow next to the month and date. Clicking the left arrow takes you back and the right arrow takes you forward.
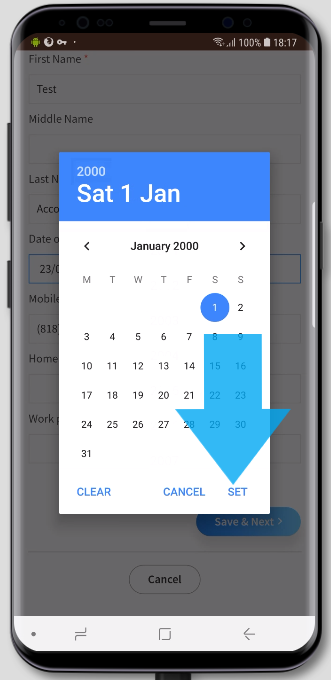
5. When on the correct month, you can simply click on the correct day to select it. You will notice it is selected by the blue circle highlighting it.
6. Once you have selected the correct day, month, and year, you can click on SET to go ahead and set this as the date in the required field.
That's it! You can now move on to filling out the rest of the application and getting it submitted to the requesting agent/landlord/manager!