When using RentSpree with zipForm® Plus, you may create new transactions or use existing transactions to initiate screenings for your rental or lease listings:
New Transaction
- Once you've signed in, you'll be brought to your dashboard. From there, make sure you're on the TRANSACTIONS tab (all of your transactions will be there).
- Click on the NEW button.

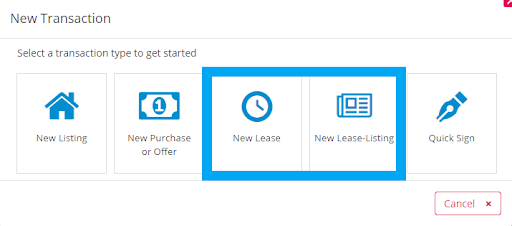
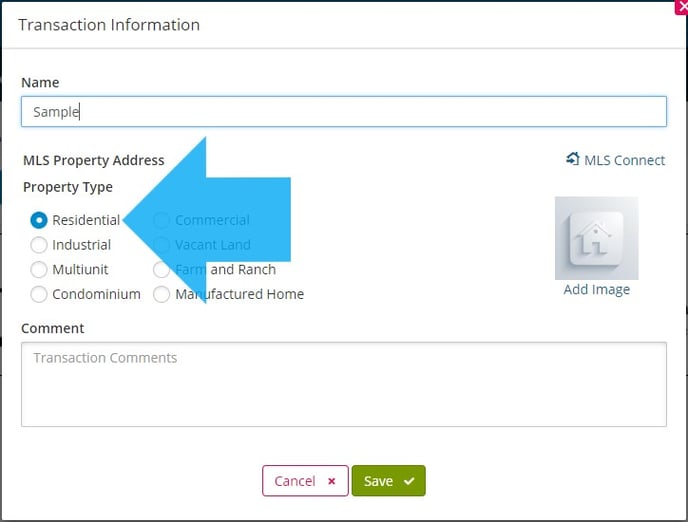
- Once you've clicked NEW, you will be given options on what type of transaction you'd like to create. Select either LEASE or LEASE-LISTING, then make sure to select a RESIDENTIAL property type (as indicated in the screenshots below) and click SAVE.
- Once you've saved your property information, you will notice the following information on your Transaction Summary page:
- Transaction name and ID.
- Your name, email, transaction type, ID, and last modified date. It is important that the transaction type is either LEASE or LEASE-LISTING and RESIDENTIAL.
- Your Property Summary. This is where you enter any of the property information you'd like to gather applications and screening reports from. Make sure that the address being entered appears in the zipForm® Plus drop-down menu.
- Click on the Marketplace button on the bar for that transaction (next to the History button).
- Once you do this, click on the word Available if you do not see the RentSpree logo immediately. You can then click on Send To.
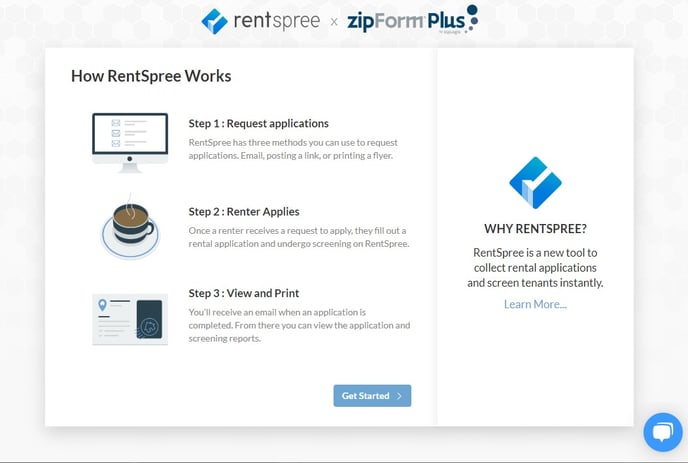
5. You will come to the Get Started page, as seen below. You'll now be on the path to screening new applicants.
Existing Accounts
1. If you have an existing transaction you'd like to work with, click on any transaction that is a "Lease, Residential" type. Once selected, you will be brought to that transaction summary page. On the top-left, you will notice the transaction address. To the right of this is a button that says Marketplace (it looks like two hands shaking). Click that button.
2. If you do not see RentSpree right away, click on the Available tab as seen above. Locate RentSpree and click on Send To.
Launching RentSpree
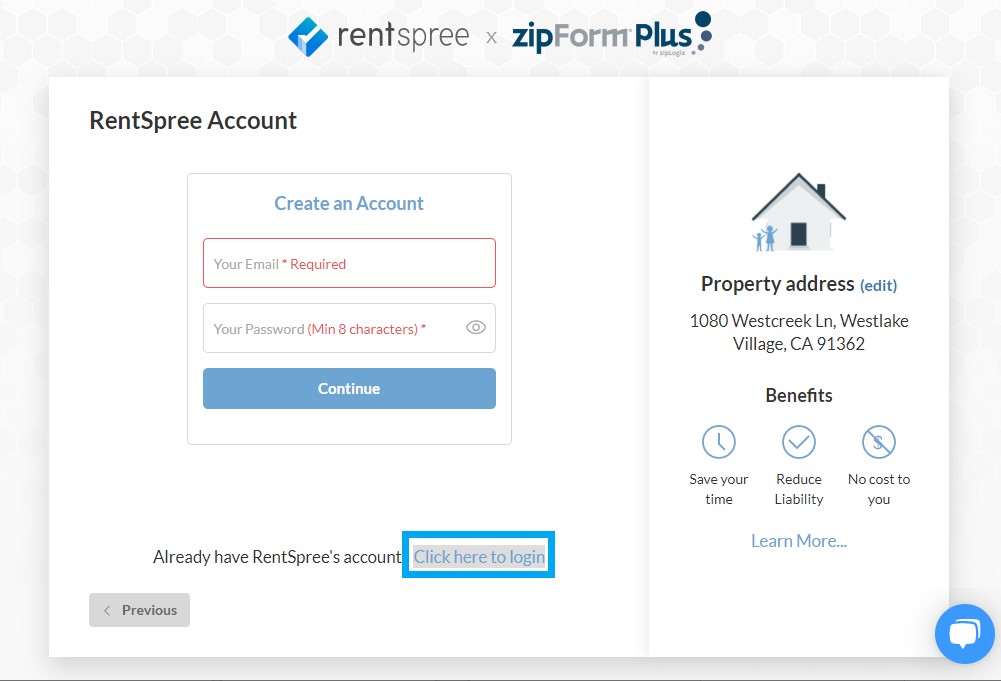
1. You will then be asked to create a new RentSpree account. Enter your email address and create a password to set up your RentSpree account and select CONTINUE. If you already have an account, select Click Here to Log In at the bottom of the screen and login with your RentSpree account.
3. The addresses from your transactions will be available in a drop-down menu, seen below. If you don't see it in the drop-down menu, select Click here to add a new property.

4. Once you've selected the property and created an account/logged in, you will be asked to choose who will pay the screening fee and which reports you would like. Once you make that decision, click on Next.
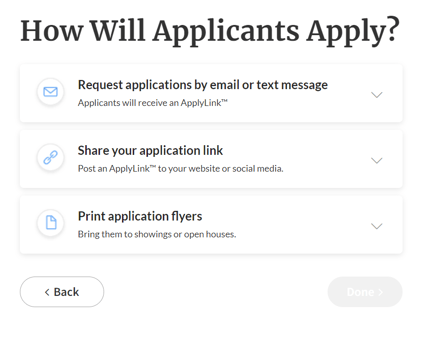
5. You will now notice three different options for screening tenants:
- Request applications by email or text message: You can enter potential applicants' email addresses and/or mobile phone numbers by clicking here. RentSpree will then send an email and/or text message to the applicant, letting them know they have been invited to apply to your property.
- Share your application link: Clicking this option gives you the opportunity to share a direct link to apply to your listing over social media, your MLS, or even text messages. Instead of sending an email, you would provide potential applicants with the ApplyLink™. When they follow the link, it will take them directly to apply to your listing.
- Print application flyers: The third and final option is a lifesaver for those that do showings for their property. This option allows you to print our Screening Handout™, which contains the ApplyLink™ to apply to your property and a QR code that can be scanned by mobile phones. You can provide a short custom message on the Screening Handout™ as well! For the best results, you can print these out and bring them to showings so any potential tenant can apply and run credit while on-site!