A Guide to Accepting and Denying Applicants on RentSpree
Accepting, accepting on condition, or denying applicants directly from your RentSpree Dashboard.
Where to Accept or Deny Applicants
You must select that you are the Landlord, Listing Agent, or Property Manager when creating your ApplyLink in order to see the Accept/Decline feature.
Once the Applicant submits their reports, you will able to accept/decline the application in two locations on the dashboard:
- Under the Screening page, click on the menu buttonon the right side of a submitted screening package:

- To the right of the report when reviewing a screening package:

Accepting applicants
When accepting applicants, an automated acceptance letter will generate and send the the applicant's email after.

Accepting on Condition
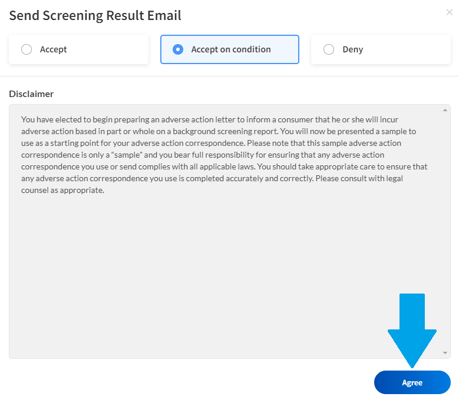
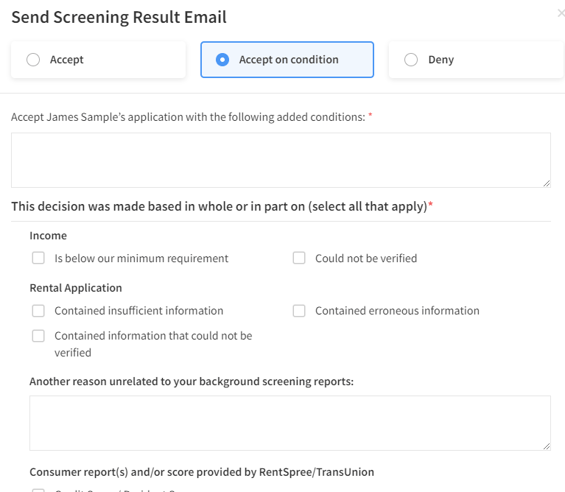
There may be an instance where you want to accept an applicant but special conditions apply. We provide a form for you to fill out so a letter may be sent to your applicant accepting them on condition.
Please read over the Disclaimer and and then press Agree.

A form will appear where you may list reasons why the applicant was accepted conditionally.

A letter will appear that will include your conditional acceptance information entered and you will be able to send the message to the applicant's email after.
Denying an applicant
While denying an applicant is never an enjoyable experience, we try to make it as quick and painless as possible.
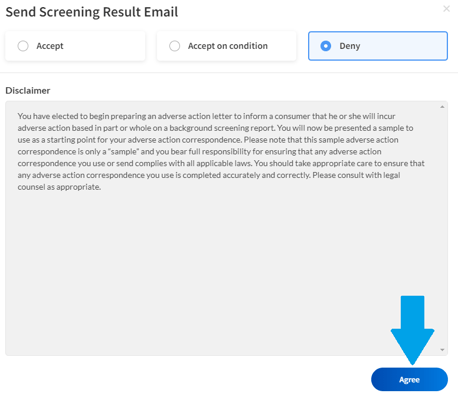
When denying an applicant, please read over the Disclaimer and and then press Agree.

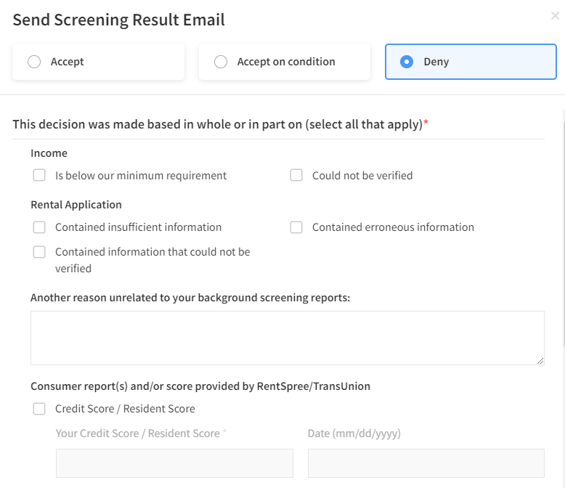
A form will appear where you may enter reasons why the applicant was denied.

An automated letter will be generated that includes your denial information, you 'll then be able to send the letter to the applicant's email.