A Guide to Requesting an Income Verification Report
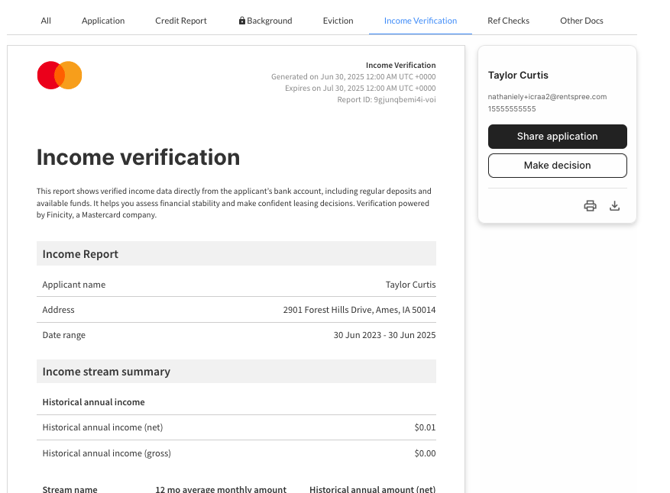
RentSpree’s Income Verification Report, powered by Finicity, enables applicants to securely connect their bank accounts during the screening process—allowing you to verify their total income and review deposit history from the past two years.
Click here to see a sample of an Income Verification Report.
How to get an Income Verification Report
- Initiate a screening on your RentSpree account
- This will either be an additional $10 or no charge if you are signed up with RentSpree PRO
- On the Your Application Package section, click Edit

- Once on the Customize your application package page, choose the Application type & Tenant screening reports
- In the next step, include the Advanced verifications

- After selecting the advanced verifications and who pays the application fee, you may send the ApplyLink to other applicants so they may complete their submission, which will include the Income Verification Report
Viewing the Income Verification Report
Once the screening has been completed, you will see the Income Verification section at the top right of your page when viewing the submission on your RentSpree Dashboard

Please note that applicants can upload supplemental documents instead if they do not have a bank that connects with Finicity.
If more documentation is needed, you can go ahead and request any additional documents from your RentSpree account after you review their completed submission.
Adverse action based on this estimate is not permitted.